


-
Block 1. NURBS curves
In this block you will master the use of tools – NURBS curves.
Curves are the basis of surface modeling. We will build 2 logos, learn the tools for creating closed curves. Next, we use the curves to build a three-dimensional part by extruding closed areas.
At the end of the topic you will find interesting tasks that will complement your knowledge of curves as the basis for surfaces.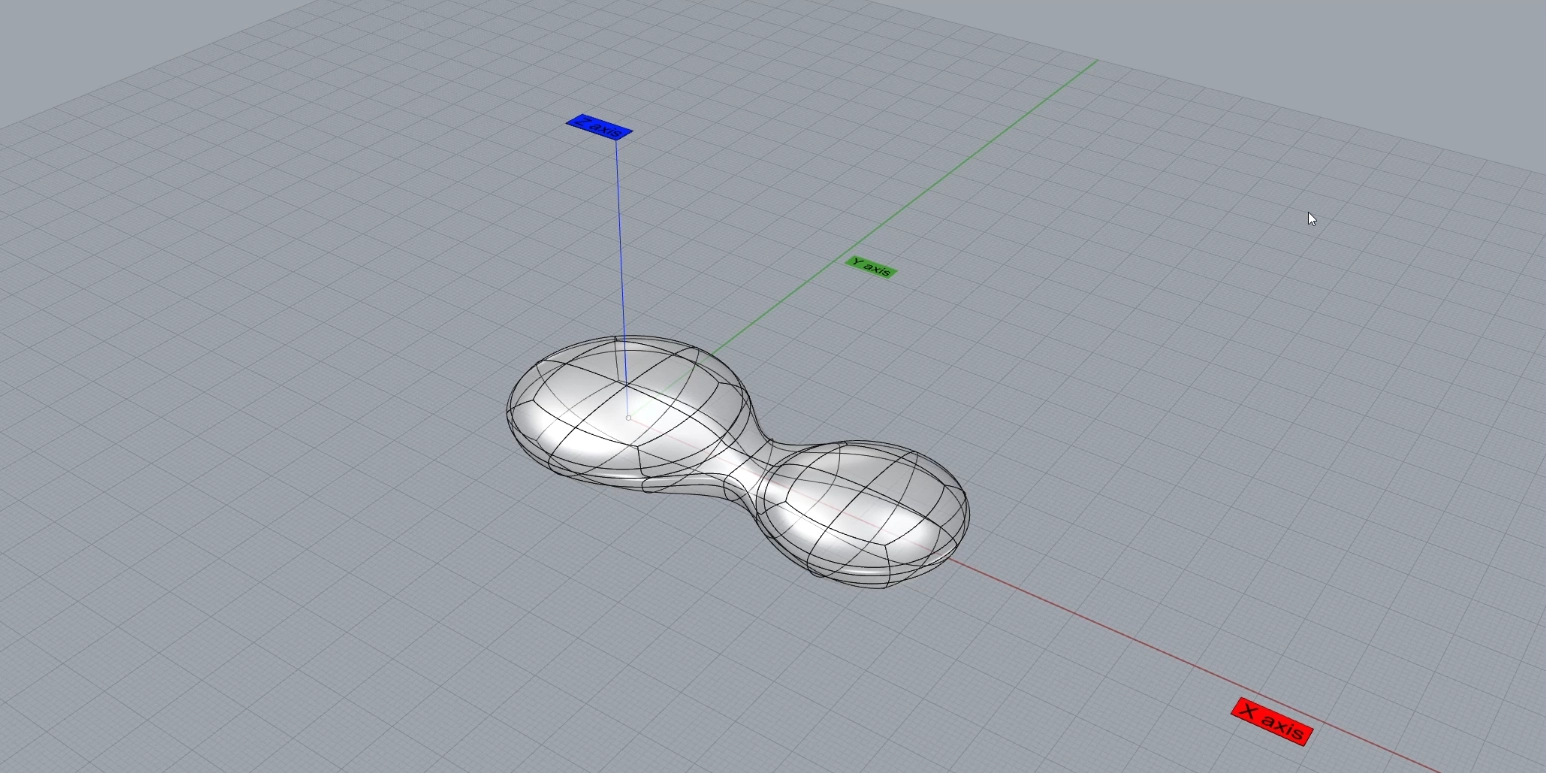
-
Block 2. NURBS surfaces
In this block, we will review with you the basic tools for creating surfaces.
Let’s divide this material into 2 groups: NURBS surfaces and SubDivide – a new set of tools for creating organic, amorphous 3D objects.
Surface creation tools – 5 commands that will give you the freedom of modeling. After creating surfaces, they need to be connected to each other using the interface and analysis tools – Zebra. After studying the video from this block, you will move to a new level of knowledge of the program. We will continue our acquaintance with SubDivide tools in the next topic.
The task will delight you with examples using Grasshopper parametric algorithms and teach you how to use UV to transfer texture from a plane to a curved surface.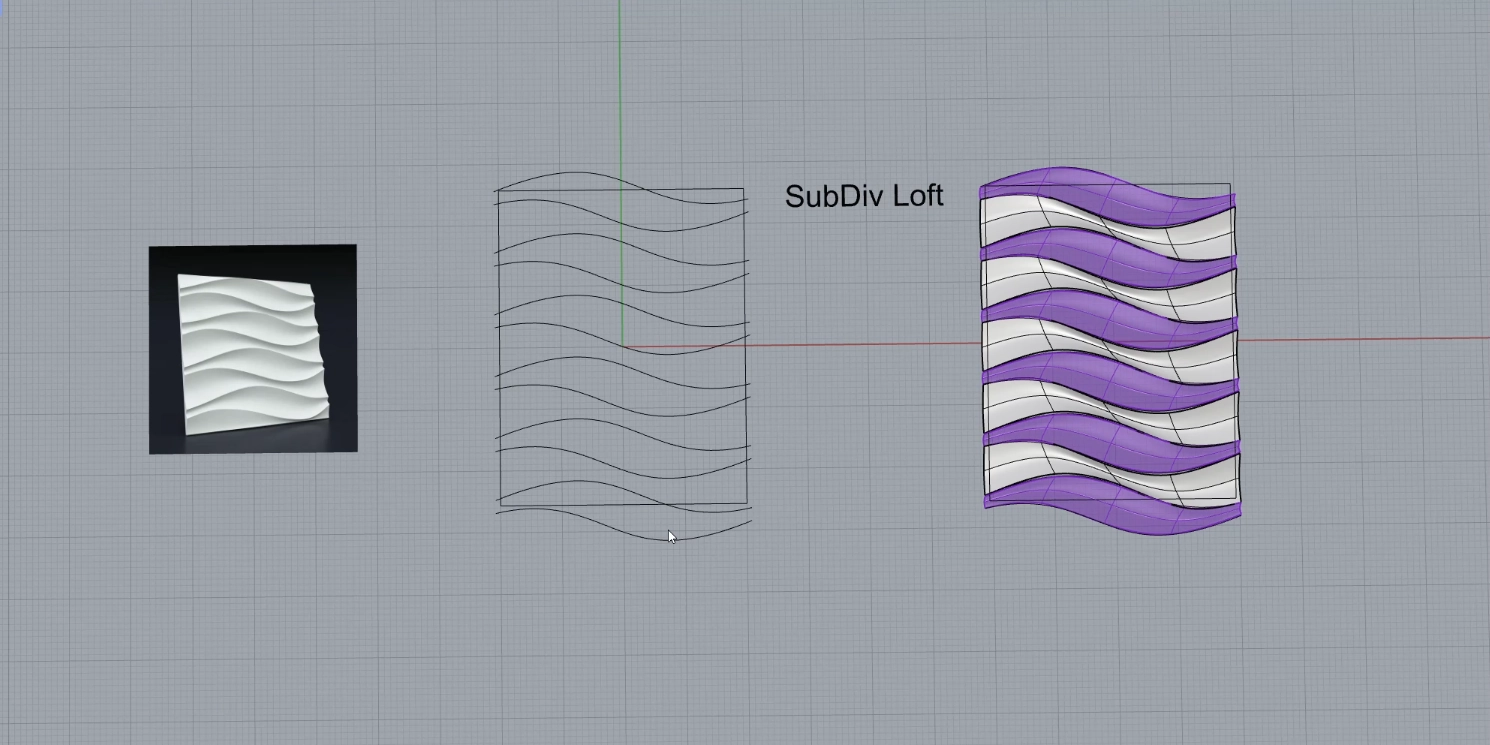
-
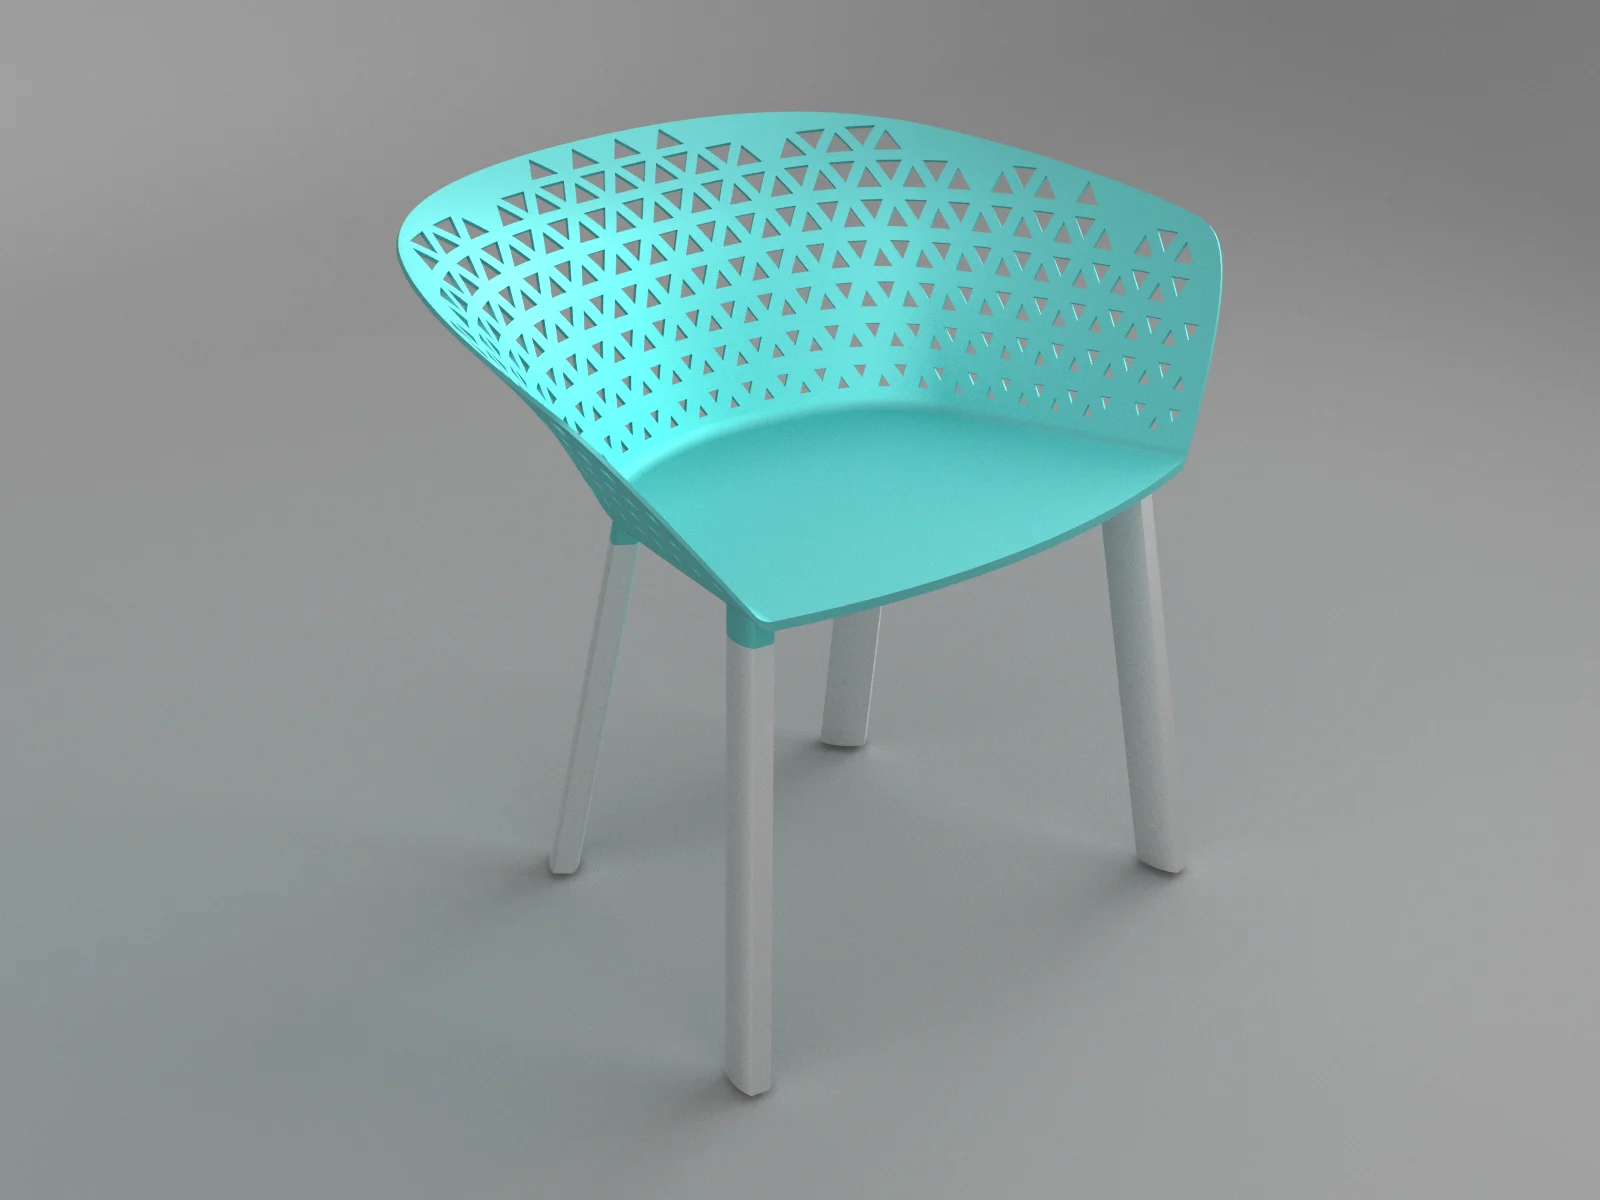
Block 3. SubD surfaces
In this block, you will get acquainted with the new construction logic – SubDiv surfaces.
It differs from NURBS and is closer to polygonal modeling.
You will see and try how SubDivs work. The choice of parts of the model is carried out through filters: points, edges, surfaces.
By editing a primitive, you will create a finished shape in several stages, you can modify it at each of them, applying selection filters and hovering points or edges.
Separately, I note that these tools will teach you how to use the manipulator and help develop spatial volumetric perception of objects. After going through all the videos of this block, you become a 3d modeler who owns two different construction technologies – classic surface modeling and SubDiv with polygonal modeling logic that can be found in Blender or 3Ds max.
Tasks will add practice in mastering SubDiv techniques, in the materials you will find a file for SubDiv instruments in the form of a block table.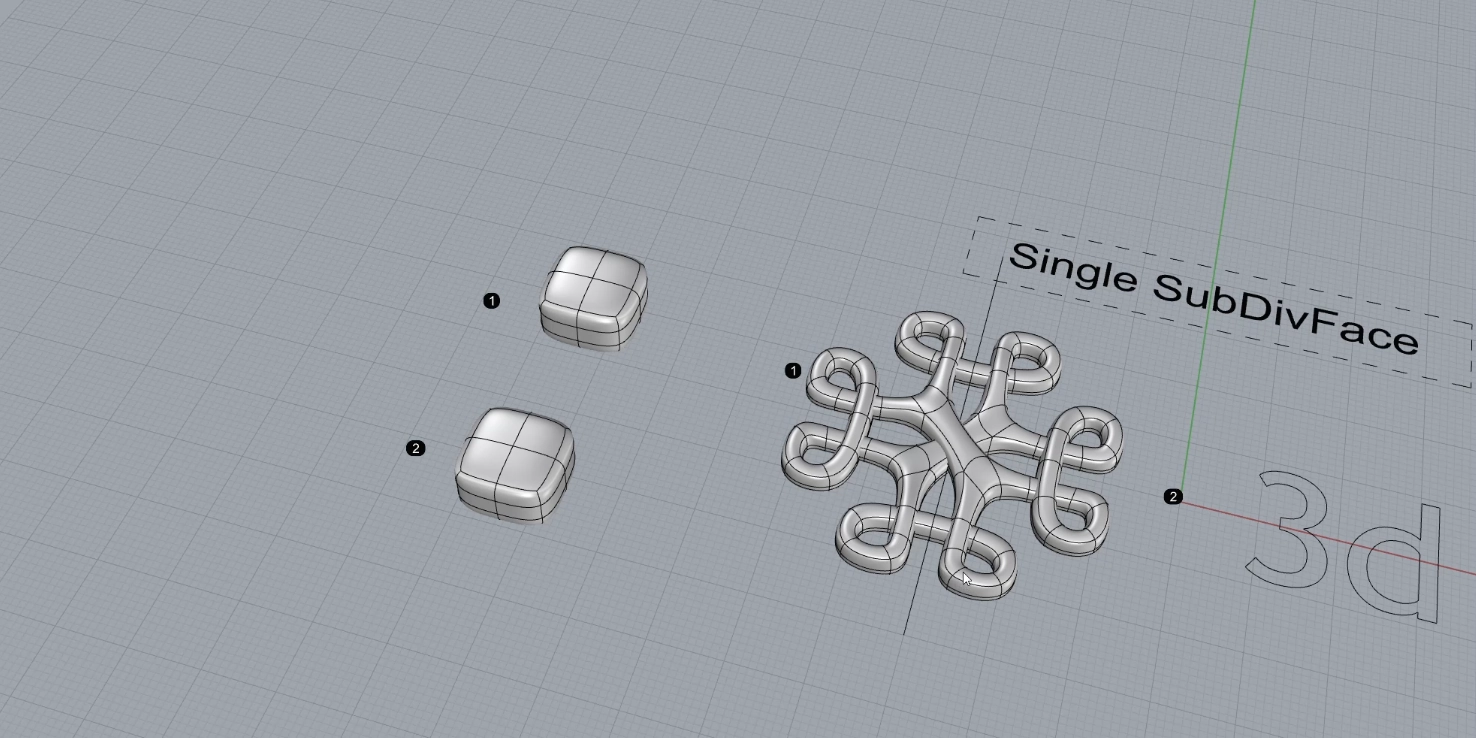
-
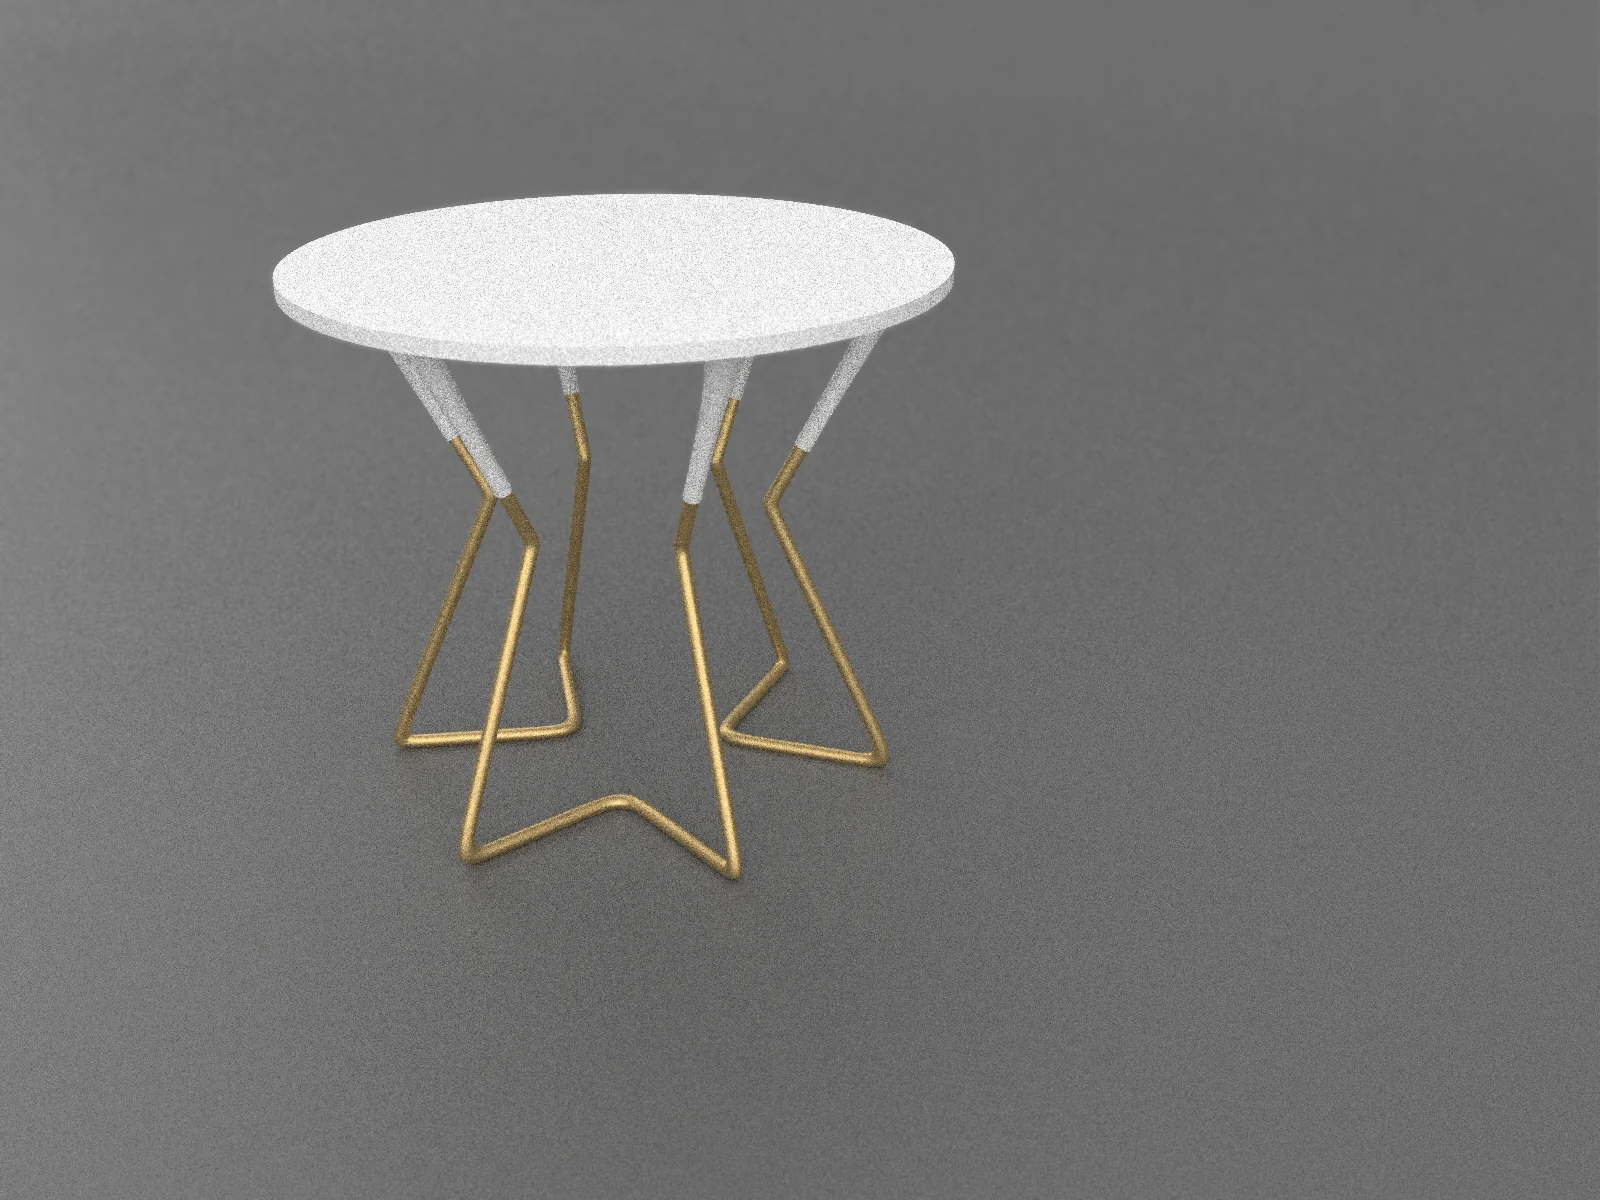
Block 4. Editing NURBS surfaces
Try to perceive the finished 3D model as something dynamic and editable. This is actually the NURBS surface. As long as they are locked into the polysurface, we cannot edit them. As soon as we divide the polysurface into separate pieces, we have the opportunity to change them.
This block will teach you how to edit surfaces using the Control points tools.
Interacting with surface control points is an advanced editing method and is comparable to sculpting.
Your most complex models will need this editing method anyway. By repeating the exercises in this block, you are practicing this method.
We will also master the practice of visualization. You will also learn how to use Grasshopper to analyze sets of surfaces and filter them.
The tasks in this topic contain repetitions and solutions to problems related to surface editing, flat patterns, and the Grasshopper parametric module.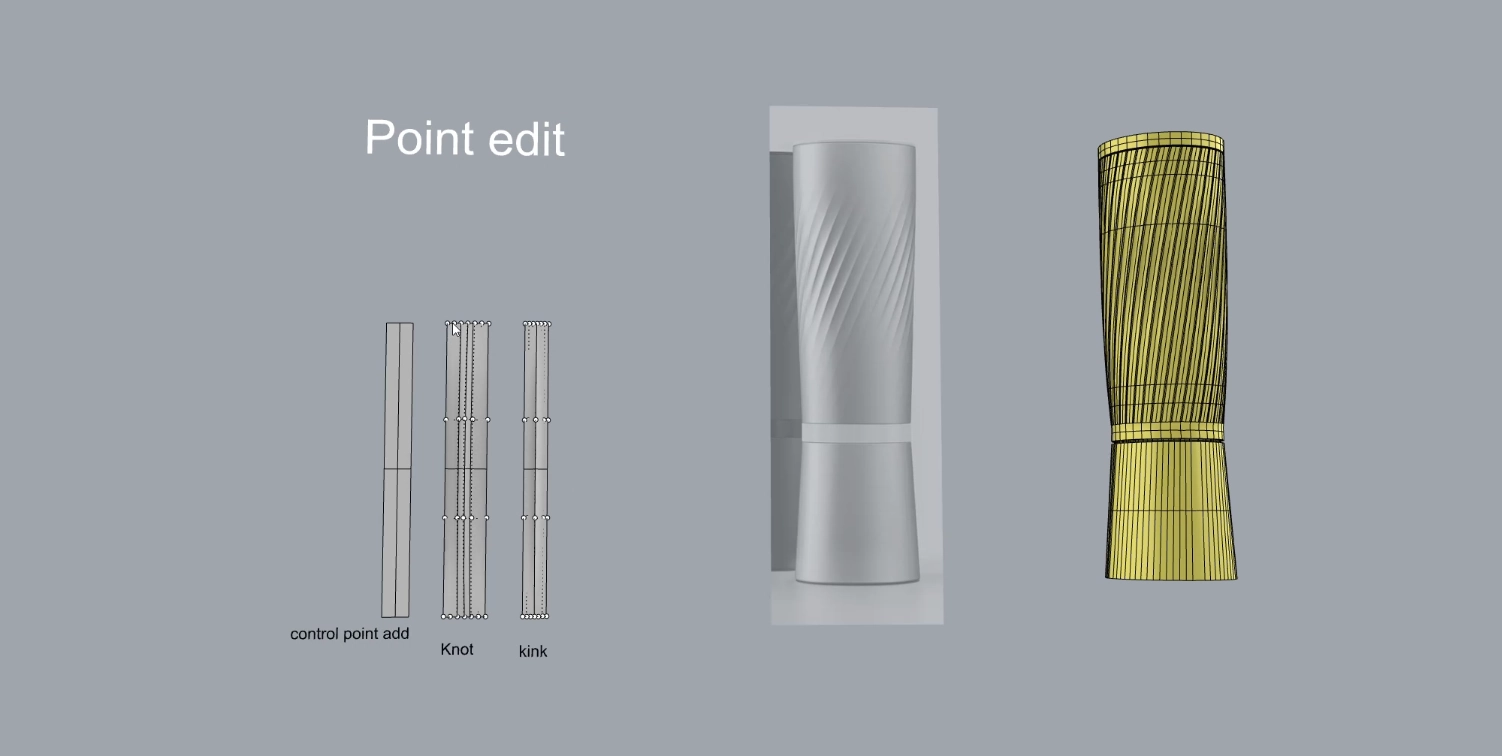
-
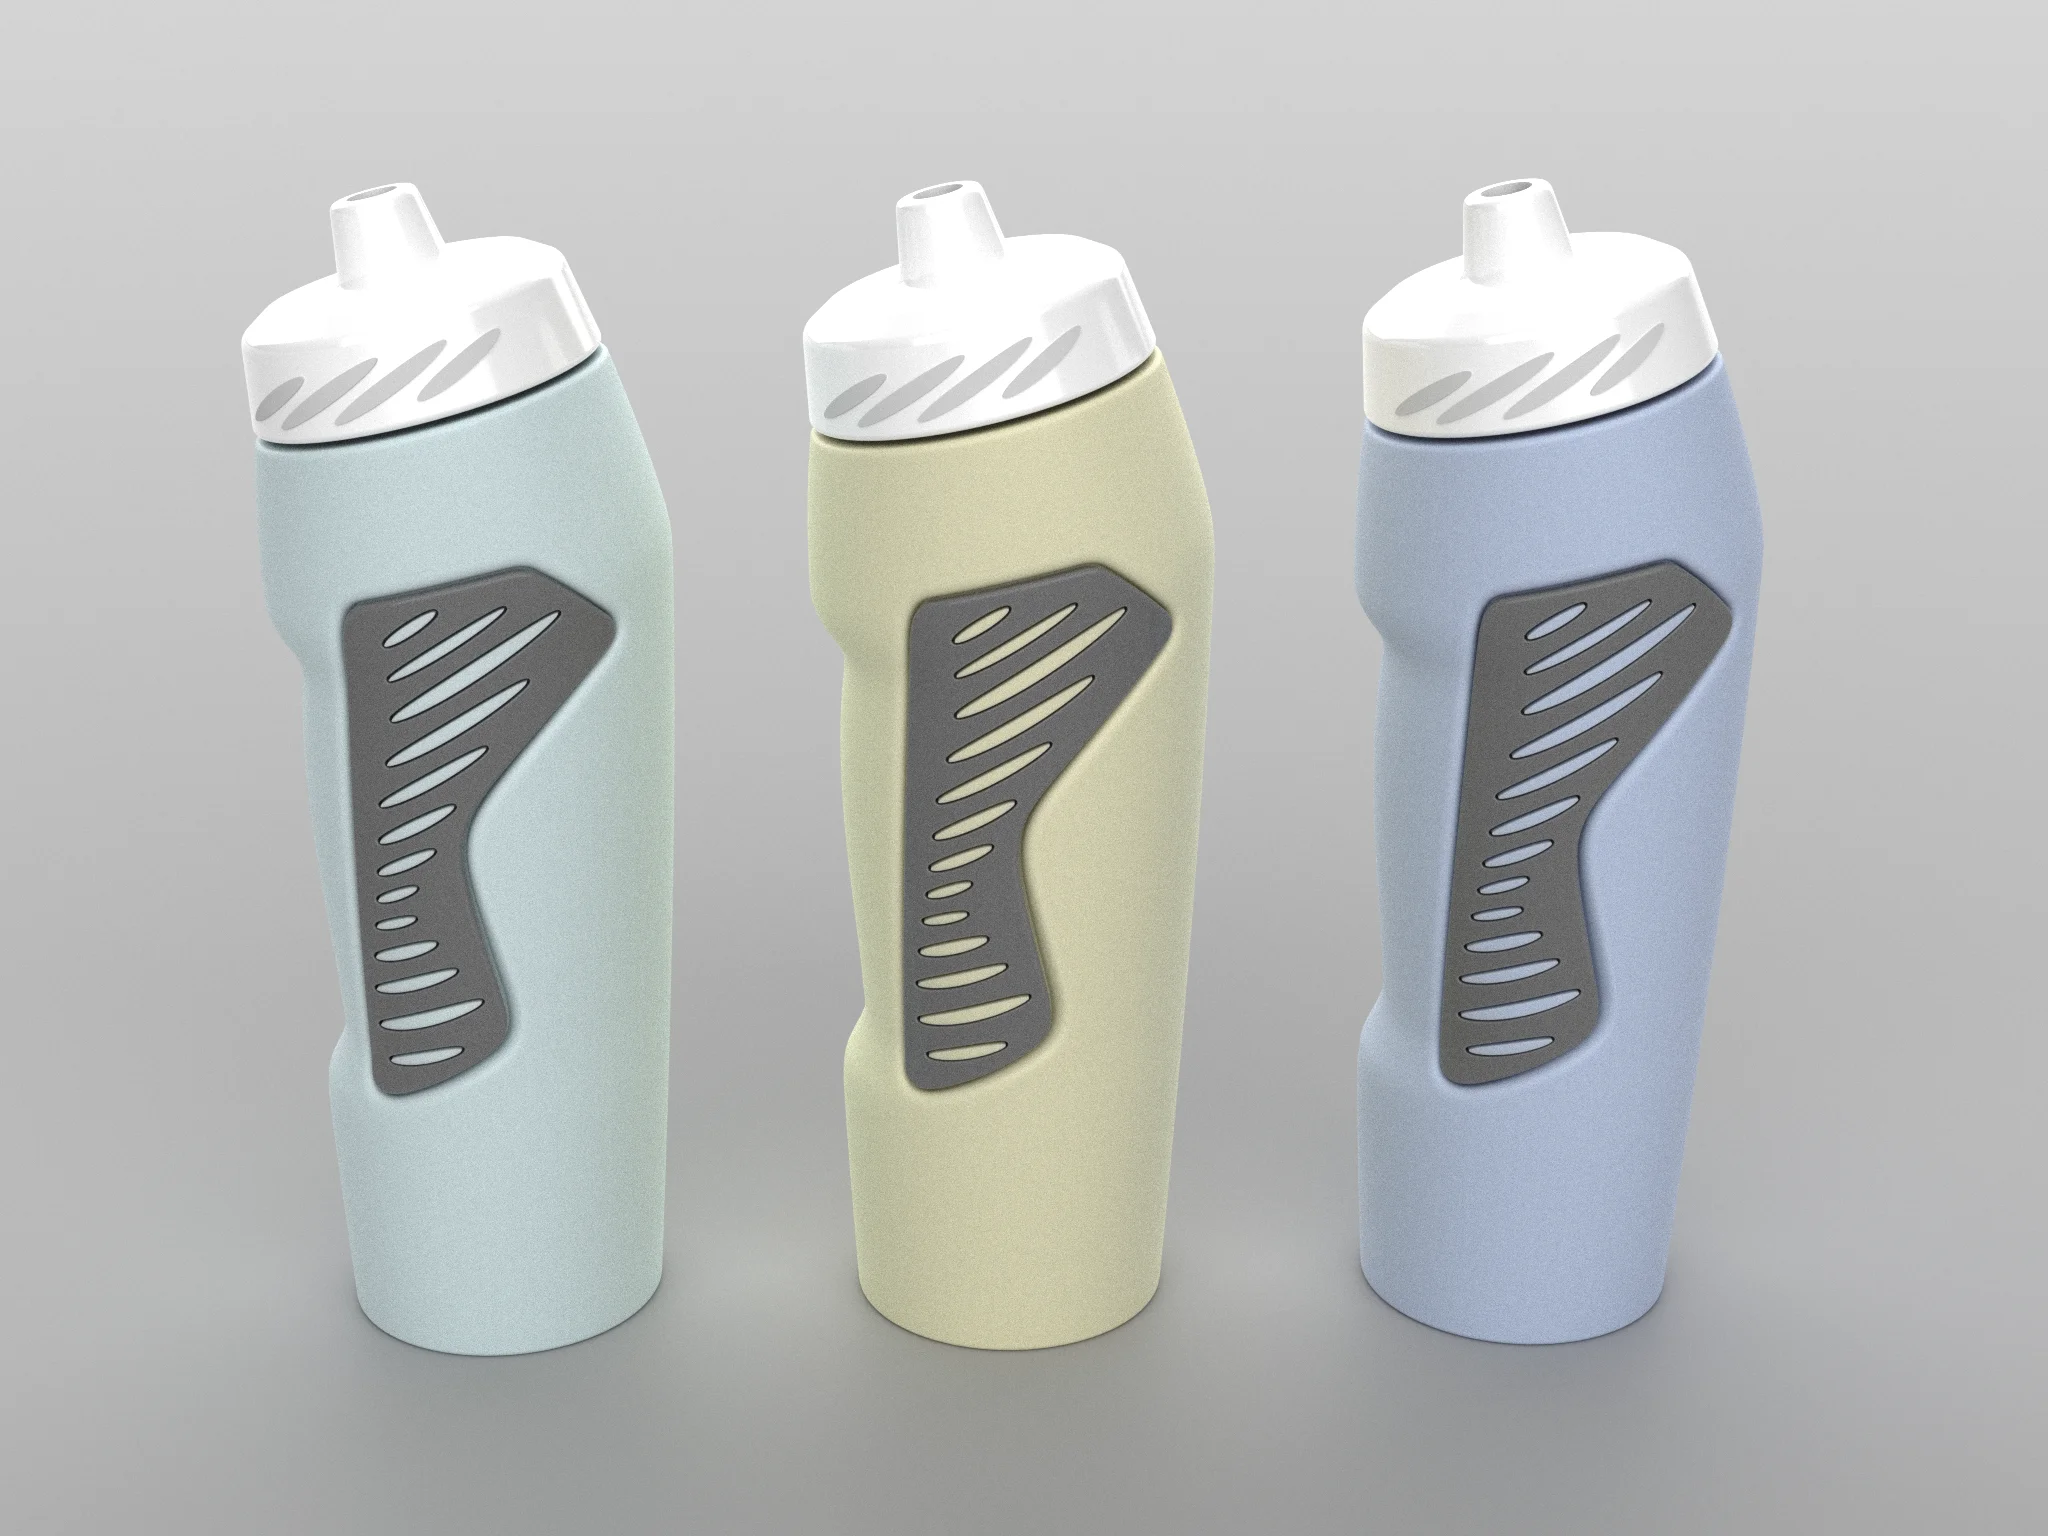
Block 5. Transformation of objects
At this stage, we will study the transformation tools.
We place elements on the wheel to create a texture, and use different methods of transferring elements for subtraction from a plane to a rolled surface. In another example, we arrange an array of elements along the curve and along the curve on the surface, when editing the curve, the elements also change, work with history is performed.
In the task, the continuation of topic 5 is the construction of an object twisted in a spiral. A twist, a twisted object, is used in forged products to obtain filigree braids. We are considering a method of obtaining a twisted object from a flat one and moving it along a folded curve, using the Twist, FlowOnSurface, FlowOnCurve tools. After that, it is necessary to analyze the length of both curves.
The additional task considers the command of stretching an object over a surface with the possibility of repeating the object using the example of a Japanese ornament.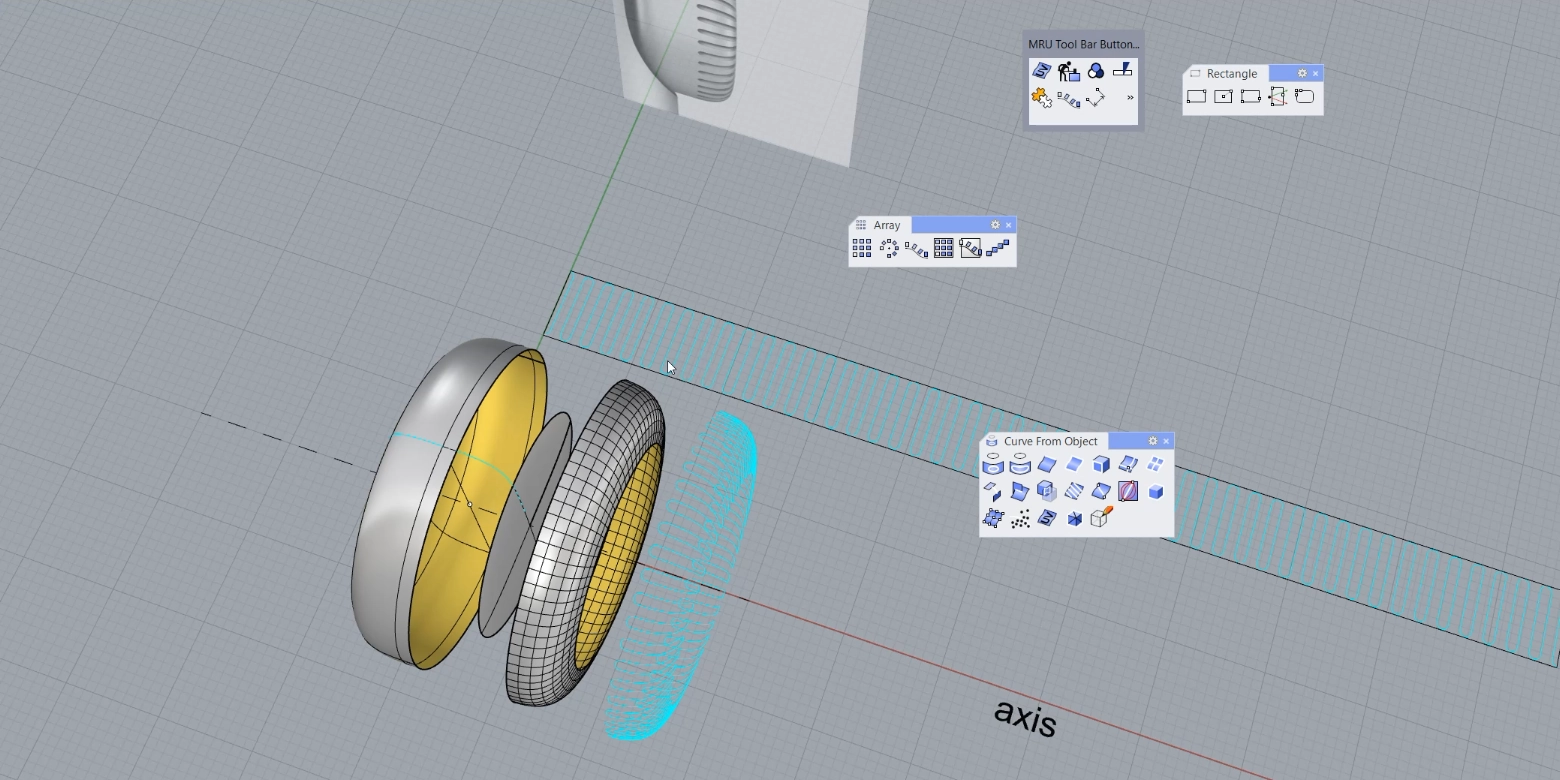
-
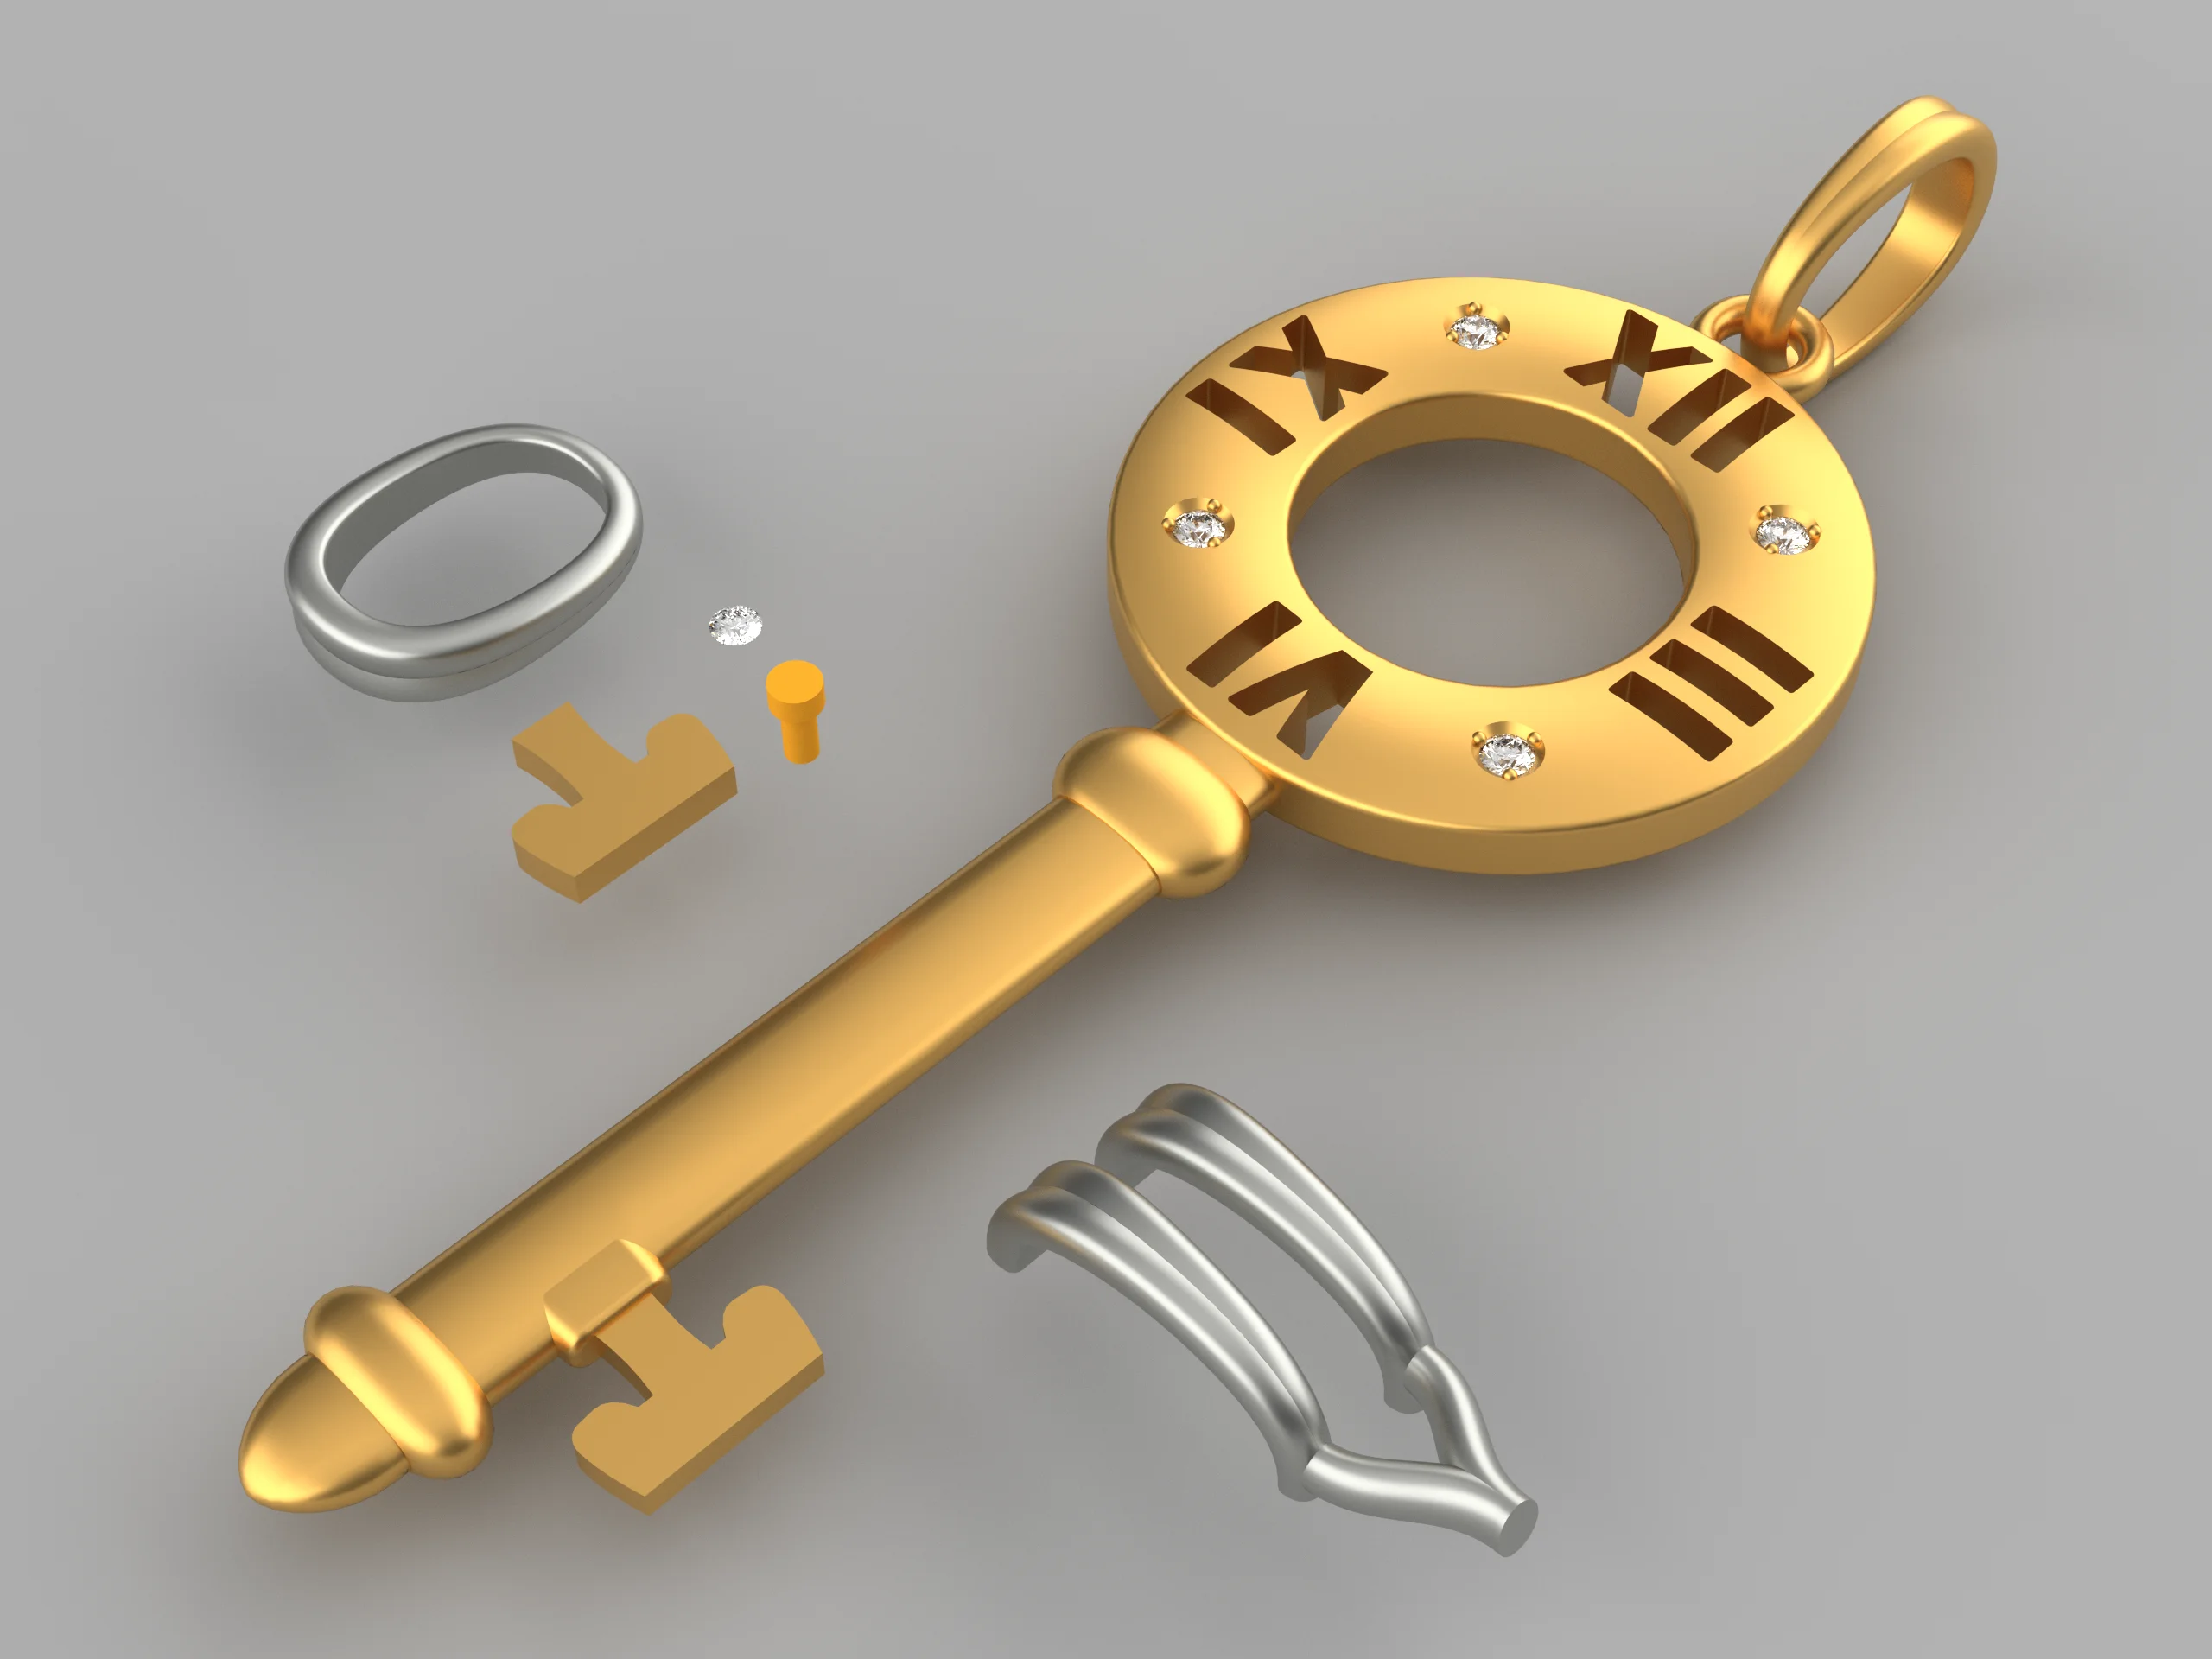
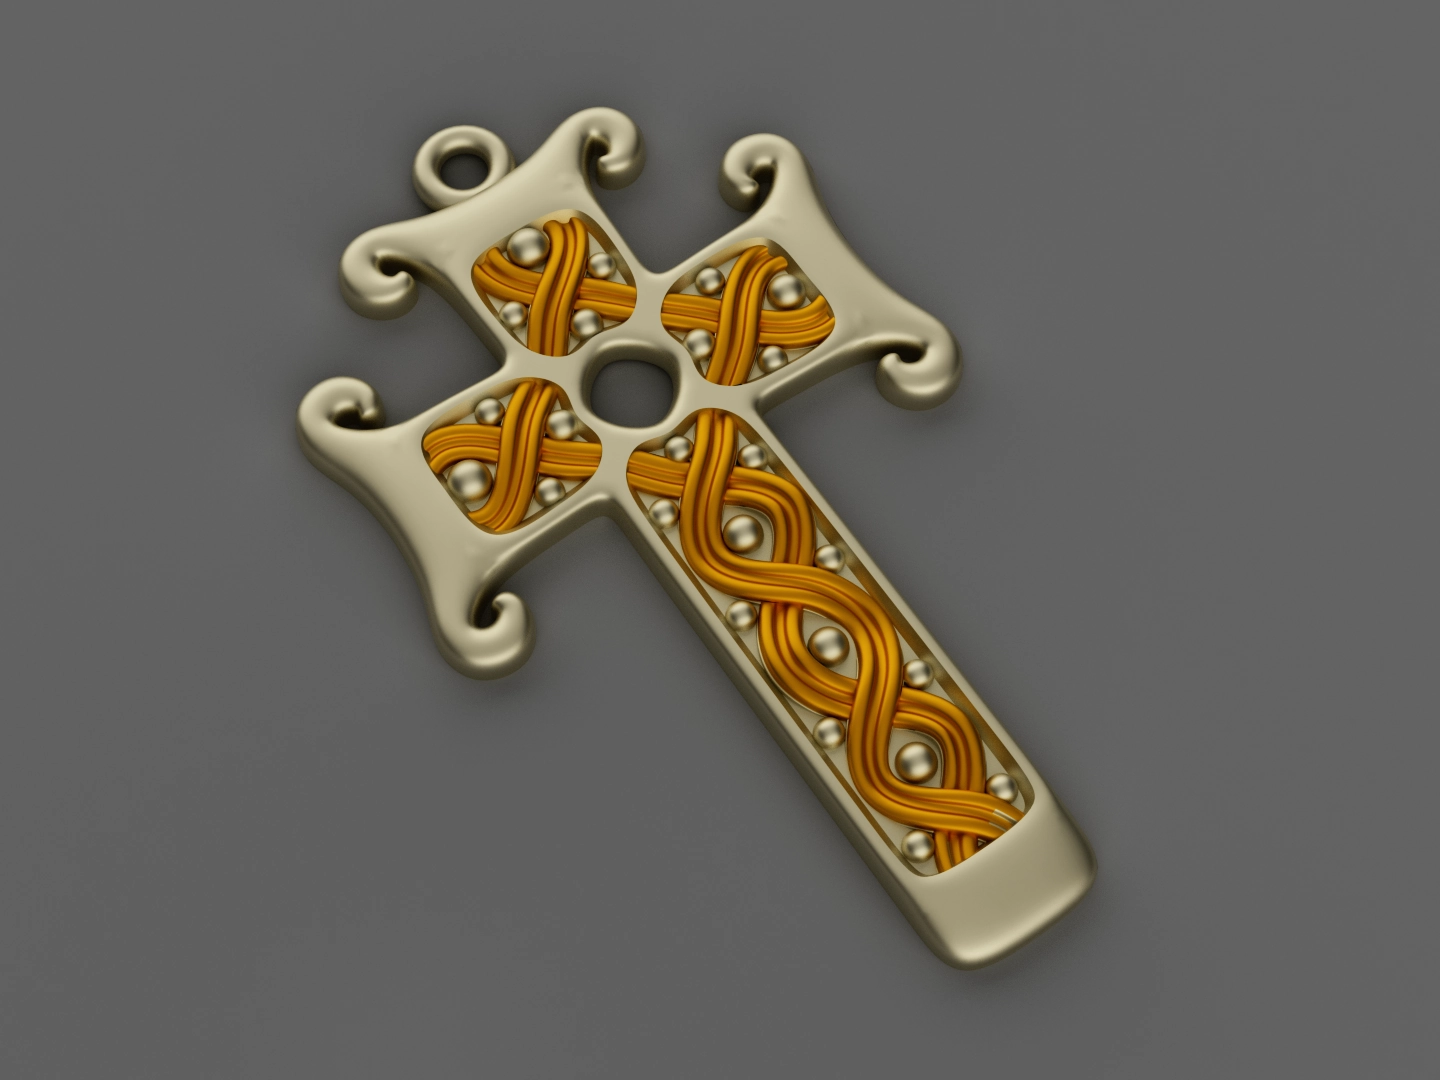
Block 6. Visualization
Modeling the finished product from scratch awaits you in the final block.
The final object is a pendant in the form of a key with Roman numerals. The essence of this topic is a project with a teacher. From beginning to end, we practice the tools for creating curves, extruded objects, we use different tools for creating a surface, we combine surfaces into polysurfaces. We control the closure of the edges, We pay attention to preparing the object for 3D printing. An object can be grown on a 3D printer, cast from different metals, and a glacial system can be made taking into account shrinkage for mass production. That is, the model is related to production and has practical application.
In the task, we design Roman columns. We are pumping the skills of creating curves, surfaces, arranging small objects along curves. We model a sectional wall using the skills of working with history, parent and child objects, and control points. Let’s work on the wall with Grasshopper.
In an additional task, we add textures to the bracelet model (physical based material), using ready-made and custom materials to render the object.
3D designer in 45 days
Have you thought about mastering the highly paid profession of a 3D designer? Would you like to learn how to create unique 3D models to translate your ideas into reality? Whatever your goal or skill level, we'll help you get started on your 3D journey. In 45 days of intensive training, we will guide you through every step of the 3D modeling process, from the basics to advanced techniques. As a result, you will receive all the necessary knowledge and skills to achieve your goal!
-
-

-

-
Course start
On request
-
Duration
45 days
-
Form of study
2 hours every day
-
Schedule
Recorded lessons
-
Language
English
Discover our course!
Join our course with confidence: if the first class does not meet your expectations, we will refund your money.
We are confident that you will be impressed because your success is our priority!
For whom?
The course is designed for anyone who would like to master the profession of a 3D designer or to organize and deepen their knowledge in the field of 3D modeling. No special preparation or knowledge is required.
What will you learn?
- Get basic 3D modeling skills in Rhinoceros
- Create models for 3D printing
- Edit the model using the transformation tools
- Build surfaces according to a sketch, connecting everything into a single shape
- Use a parametric design approach
- Create realistic visualization
How is the training going?
The learning process is carried out with the help of independent study of the material by the student in the lessons and the performance of tasks. At the end of each block you must complete a practical task. The teacher will answer your questions about practical assignments. Access to all course materials is retained for you for 1 year.
Students works

Course program
-
6
Blocks
-
144
Lessons
Each module consists of recorded lessons. At the end of each module, it is necessary to complete an assignment. Through these assignments, you will acquire and reinforce practical skills in the field of 3D modeling. Therefore, be sure to pay attention to completing the practical assignments. After the course, the teacher will conduct a final consultation with the student.
Teacher
Vladislav Kalchenko
Authorized McNeel Trainer
Author of courses on 3D modeling in the field of interior design, industrial design, shoe design and jewelry design.
More than 12 years of professional experience in Rhinoceros, of which 7 years of training.
A fan of 3D modeling, to which he devotes more than 10 hours every day.
Author of a series of jewelry for Giverola jewelry.
He widely uses parametric design and Grasshopper in his work.
Interested in group learning?
In addition to individual training, our company conducts group classes.
Contact usHow do we teach?
Watch the introductory lesson
Feedback from our students
Cost of education
Training includes lessons in the recording and tasks for self-study without consultation with the Teacher
Learn from the experts
-

McNeel Authorized Training Center
-

Оfficial certificate
-

Interest-free installment
Popular questions
-
What can I do after completing the course?
Create 3D models for 3D printing or CNC milling, work as a freelance 3D designer. -
What is the advantage of Rhino over other programs?
With its wide features and ease of use, Rhino is the optimal program for creating 3D models in the fields of jewelry design, shoe and furniture modeling, industrial design, parametric architecture, mechanical engineering and medicine, as well as for everything related to 3D printing and reproduction 3D models in real life. If you are interested in the development of games and videos, then you should choose 3Ds Max. -
What is the schedule and duration of the course?
You choose the time for the lessons yourself, the duration of the course is 1.5 months, 2 hours a day. -
What skills are required for the course?
Basic knowledge of a PC user is sufficient, it is not necessary to have skills in CAD systems. -
What computer and programs are required for the course?
PC with Windows 10 (x64) or higher or Mac 12.4 and higher. Hardware - Check out the system requirements for Rhino. Rhinoceros software (you can use the demo version). -
Are installment payments available?
Interest-free payment in installments is possible on an individual basis, contact us to discuss the details. -
Is a certificate issued after graduation?
Yes, we send you a certificate of completion by e-mail. -
How long are course materials available?
You have access to all course materials for 1 year. During this time, you can take the entire course or some block again on your own.
Have questions?
Get a consultation
You can also reach out to us via email and WhatsApp for course information.